 To Paint or Stain: Bring Life Back to Your Fence
Actions
Having a beautiful fence not only improves the curb appeal of your home but it also increases its property value.
In addition, painting and staining your wooden fence will extend its life and protect it from damage, meaning less work and costs for you.
But which one should you choose? Fence paint or stain?
Keep reading to learn the pros and cons of both fence paint and stain. Then, we'll teach you how to bring your fence back to life.
Why Stain
Staining your fence will protect it so that it lasts longer. It also adds shine, keeps wood looking new, and doesn't chip.
Natural Beauty
Stains highlight wood's natural beauty rather than covering it up. If you want a natural look, use a transparent or semi-transparent stain. Naturally coloured fences look great with traditional, rustic, and farm homes.
Colour is Still an Option
You don't have to give up colour by choosing stain over paint, though. There are many solid stain options that can add colour and life to your wooden fence. And they are not all brown either!
You can get solid stains in red, blue, yellow, and basically all colours. Grey stained fences, in particular, are trending at the moment.
Longevity
Staining will usually last longer than paint because wood absorbs stain better than paint. Plus, you won't have the peeling and chipping that can be common with paint.
If you live in a place that experiences harsh weather (like the Lakeland!) such as snowy or frosty winters or lots of rain, your best bet is to go with stain. Also, areas with a lot of humidity will warp paint quicker, too.
The material is also important. If you have a cedar fence, avoid paint. Cedar is a wood that needs to breathe and paint will keep this from happening, shortening the life of the wood and the fence.
Easier Reapplication
If you choose to stain your fence, you'll have an easier time re-staining it when the time comes. Stained fences simply need to be scrubbed and cleaned before reapplying stain.
Paint, on the other hand, must be completely removed. This involves sanding the paint off and then cleaning the wood.
Why Paint
Painting your fence can help you accomplish any type of look with any colour. It provides more options, is less expensive, and still offers protection for your fence.
Less is More
Paint covers more surface area than stain meaning fewer applications. You won't have to buy as much of it which also means initial cost savings for you.
If you're hiring a contractor, a paint job typically costs less than a stain job in today's market.
Matching
While stain does come in a variety of colours today, it can be difficult to find a stain that matches painted areas of your home.
For example, if you want your fence to match your home's exterior perfectly, then you can simply use the same paint colour in an outdoor grade. Say you want your fence to even match an interior colour that you love. You can find the exact colour at the Lakeland Co-op Paint Desk located inside our Bonnyville Home Centre.
Wider Selection
On the same lines, it is guaranteed that you'll have a wider selection of fence paint colours than stain colours. This means your vision, if colourful, will be easier to make a reality.
How to Paint or Stain a Wood Fence
Whatever you choose, the process is similar. Here's how to paint or stain a fence.
Step 1: Prepare the Ground
Clean the ground area near the fence of any leaves, loose grass, or weeds. This will make sure these items do not hinder or mark smooth application.
Next, you'll want to lay a painter's drop cloth at the base of the fence to catch an paint or stain that drips.
Step 2: Prepare the Fence
Start by cleaning the fence completely. A pressure washer is a good start.
If your fence was painted, you should scrape and sand the fence so that the surface is smooth. You can do this for stained fences as well, to ensure best and long-lasting results.
Sanded wood becomes smooth making application easier. It also ensures that the wood absorbs the paint or stain.
If you find mould or mildew, clean the area with water and bleach (50% to 50%). This will prevent it from returning.
If you find pest or termite damage, you will need to replace that section of the wood.
Step 3: Painting or Staining
Choose a finish that works for your environment and needs. For the large, flat areas, you can use a roller, sprayer, or pad for application.
If you choose a roller, make sure to find one with a comfortable weight so that your arm does not get too tired.
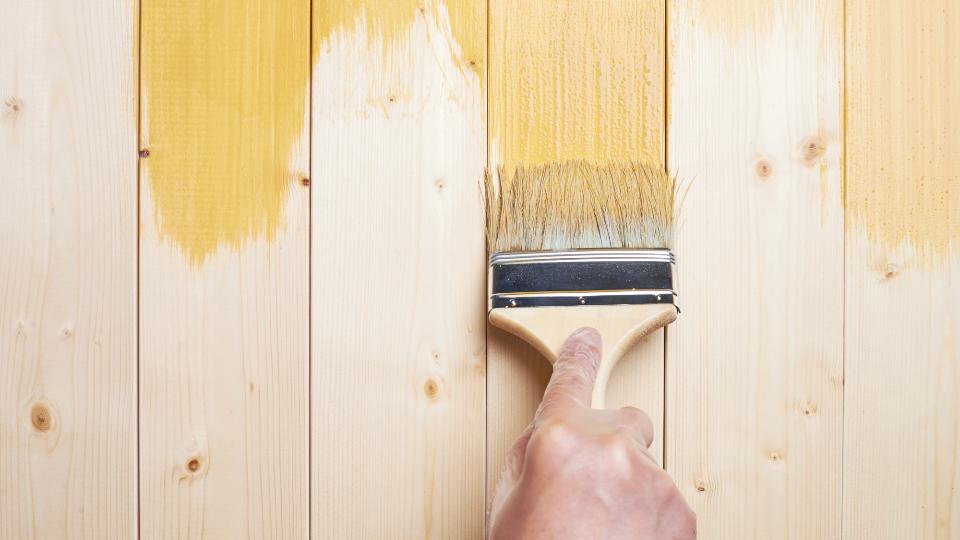
If you want to paint with a brush, choose a flat paintbrush that is 4 to 5 inches wide.
Whether you use a sprayer or a roller, use a flat brush to even out any drips. You will also need to use a brush for hard to reach areas such as underneath horizontal pieces or around posts.
Make sure to choose brushes with natural bristles. These are more durable and provide smoother, better-looking application.
4. Clean Equipment
After painting or staining, clean your equipment thoroughly to prevent damage and toxicity. You may need to use a paint thinner. Follow the instructions found on the labels.
5. Touch Up
It is recommended to touch-up any areas that are wearing on a yearly basis. If you notice paint is not lasting, try using stain instead.
Your Fence Paint and Stain Needs
Whether you choose to paint or stain, your fence will look beautiful, last longer, and you can avoid expensive costs and time spent trying to repair damaged wood.
At Lakeland Co-op, we have everything you need to bring your fence back to life. We offer a large selection of fence paint and wood stains. We also have all the materials you need to get that professional-job look.
Our members receive lifetime rewards and competitive prices on all their home, garden, and hardware needs. Learn about becoming a Lakeland Co-op member today!